Create dropdown and mega menu for HikaShop and VirtueMart
The Dropdown and Mega menu in RcaTheme templates utilize Joomla!'s menu items. These menu items can encompass various types such as HikaShop or VirtueMart categories, Joomla! Categories, Joomla! Articles, and other Joomla! system menu item types, including third-party extensions. To streamline the process of designing your dropdown or mega menu, it is advisable to prepare your menu items beforehand. This ensures a smooth and efficient customization of your menu structure.
- Create HikaShop Categories.
- Create VirtueMart Categories.
- Create Necessary Menu Items.
- Assign a Menu to the Frontend.
- Watch a video about using the Menu Editor.
- Add images and Joomla! modules to the dropdown menu.
Create HikaShop Categories:
If you're using HikaShop, start by creating all your HikaShop categories as follows:
- Log in to Joomla! Administrator if you haven't already.
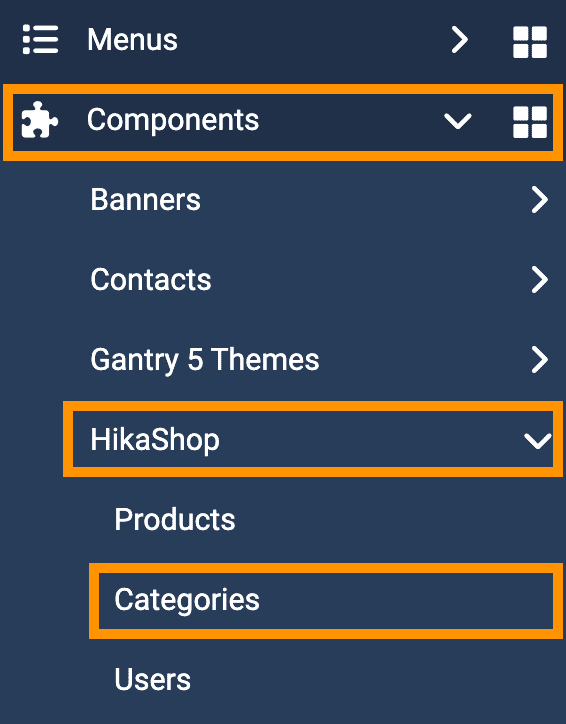
- Navigate to Components -> HikaShop -> Categories in the left menu.

Create VirtueMart Categories:
If you're using VirtueMart, start by creating all your VirtueMart categories as follows:
- Log in to Joomla! Administrator if you haven't already.
- Navigate to Components -> VirtueMart -> Product Categories in the left menu.

Create Necessary Menu Items:
Create the required Menu and Sub-menu items using available 'Menu Item Type' options, such as HikaShop -> Categories listing, HikaShop -> Products listing, or VirtueMart -> Category Layout, along with other Joomla! and third-party extension menu item types by following:
- Log in to Joomla! Administrator if you haven't already.
- Navigate to Menus -> Main Menu (or the menu you've created for the main menu) in the left menu.

Assign a Menu to the Frontend:
- From the Joomla! Administrator, access the template admin by navigating to Components -> Gantry 5 Themes -> Default Theme in the left menu.

- Under Base Outline click on Layout

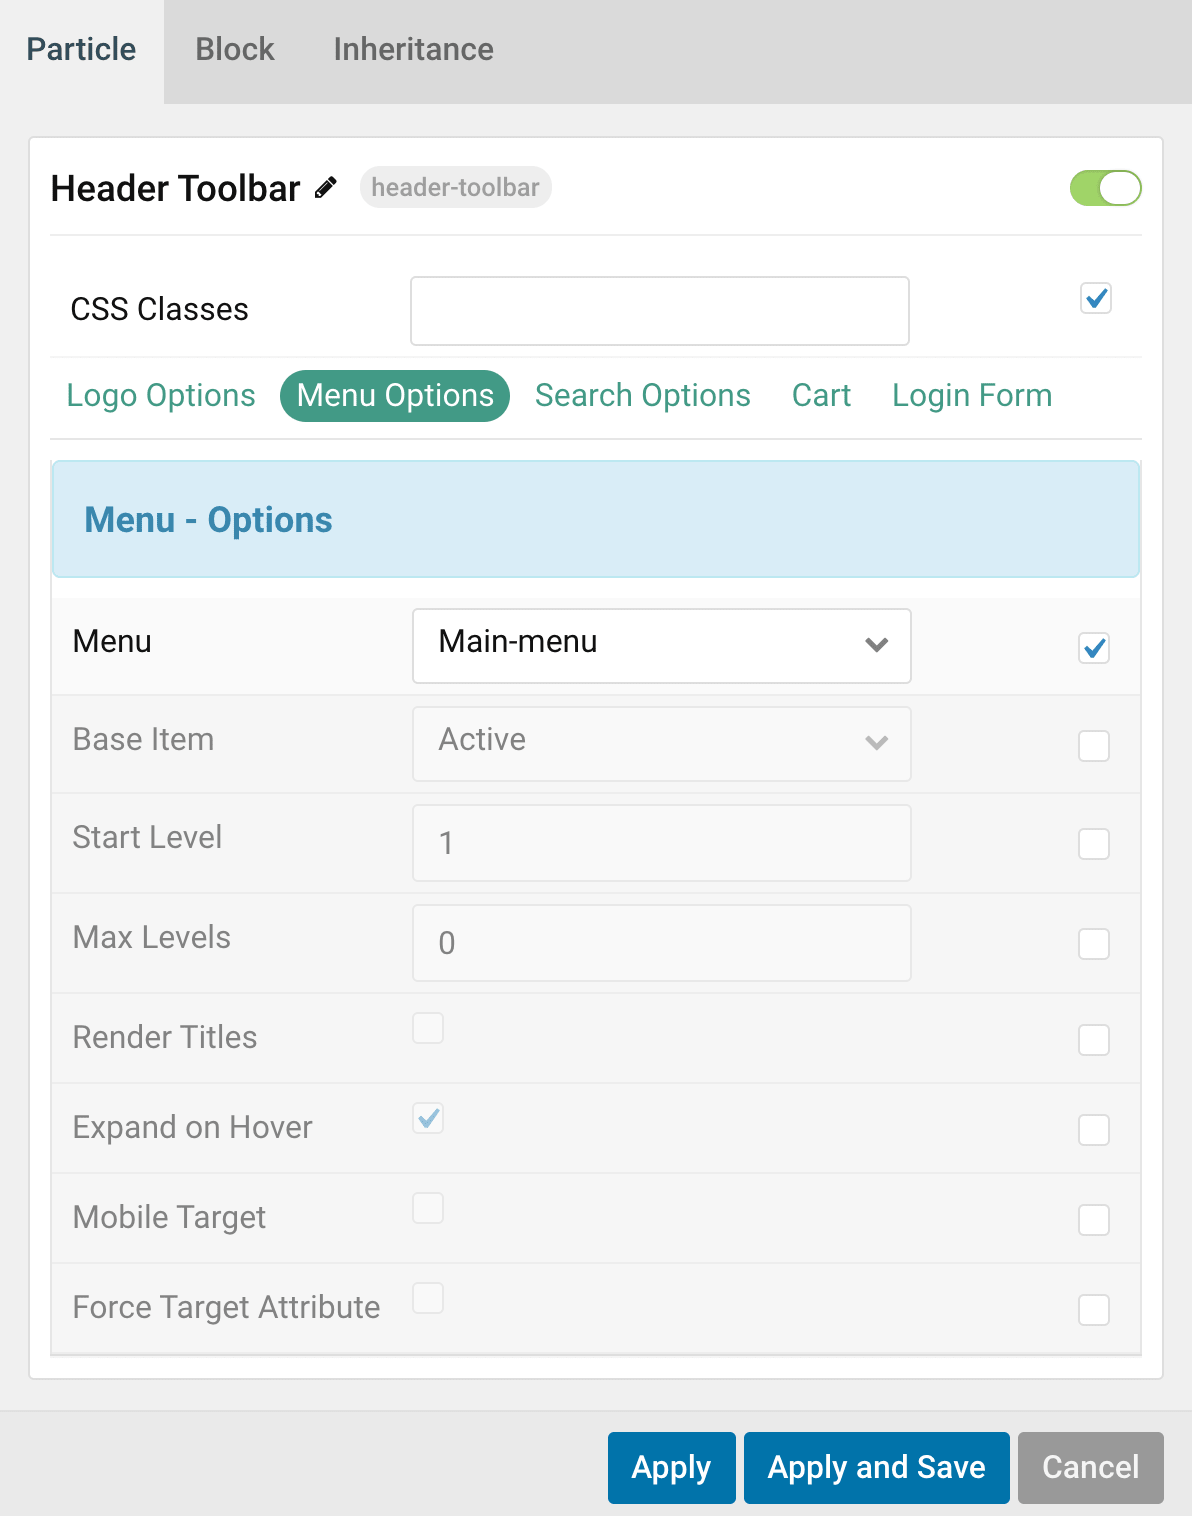
- Scroll down to the Header Section and click the Config icon next to the Header Toolbar particle. Alternatively, navigate to the Navigation Section and click the Config icon next to the Navigation/Menu particle. Locate the Menu options; note that in some template, the menu option is under the Header section, while in others, it's under the Navigation section. Refer to this screenshot for guidance:

- From the Menu options, select a menu you want to show as the Main menu.
- From the Template admin, click on Menu

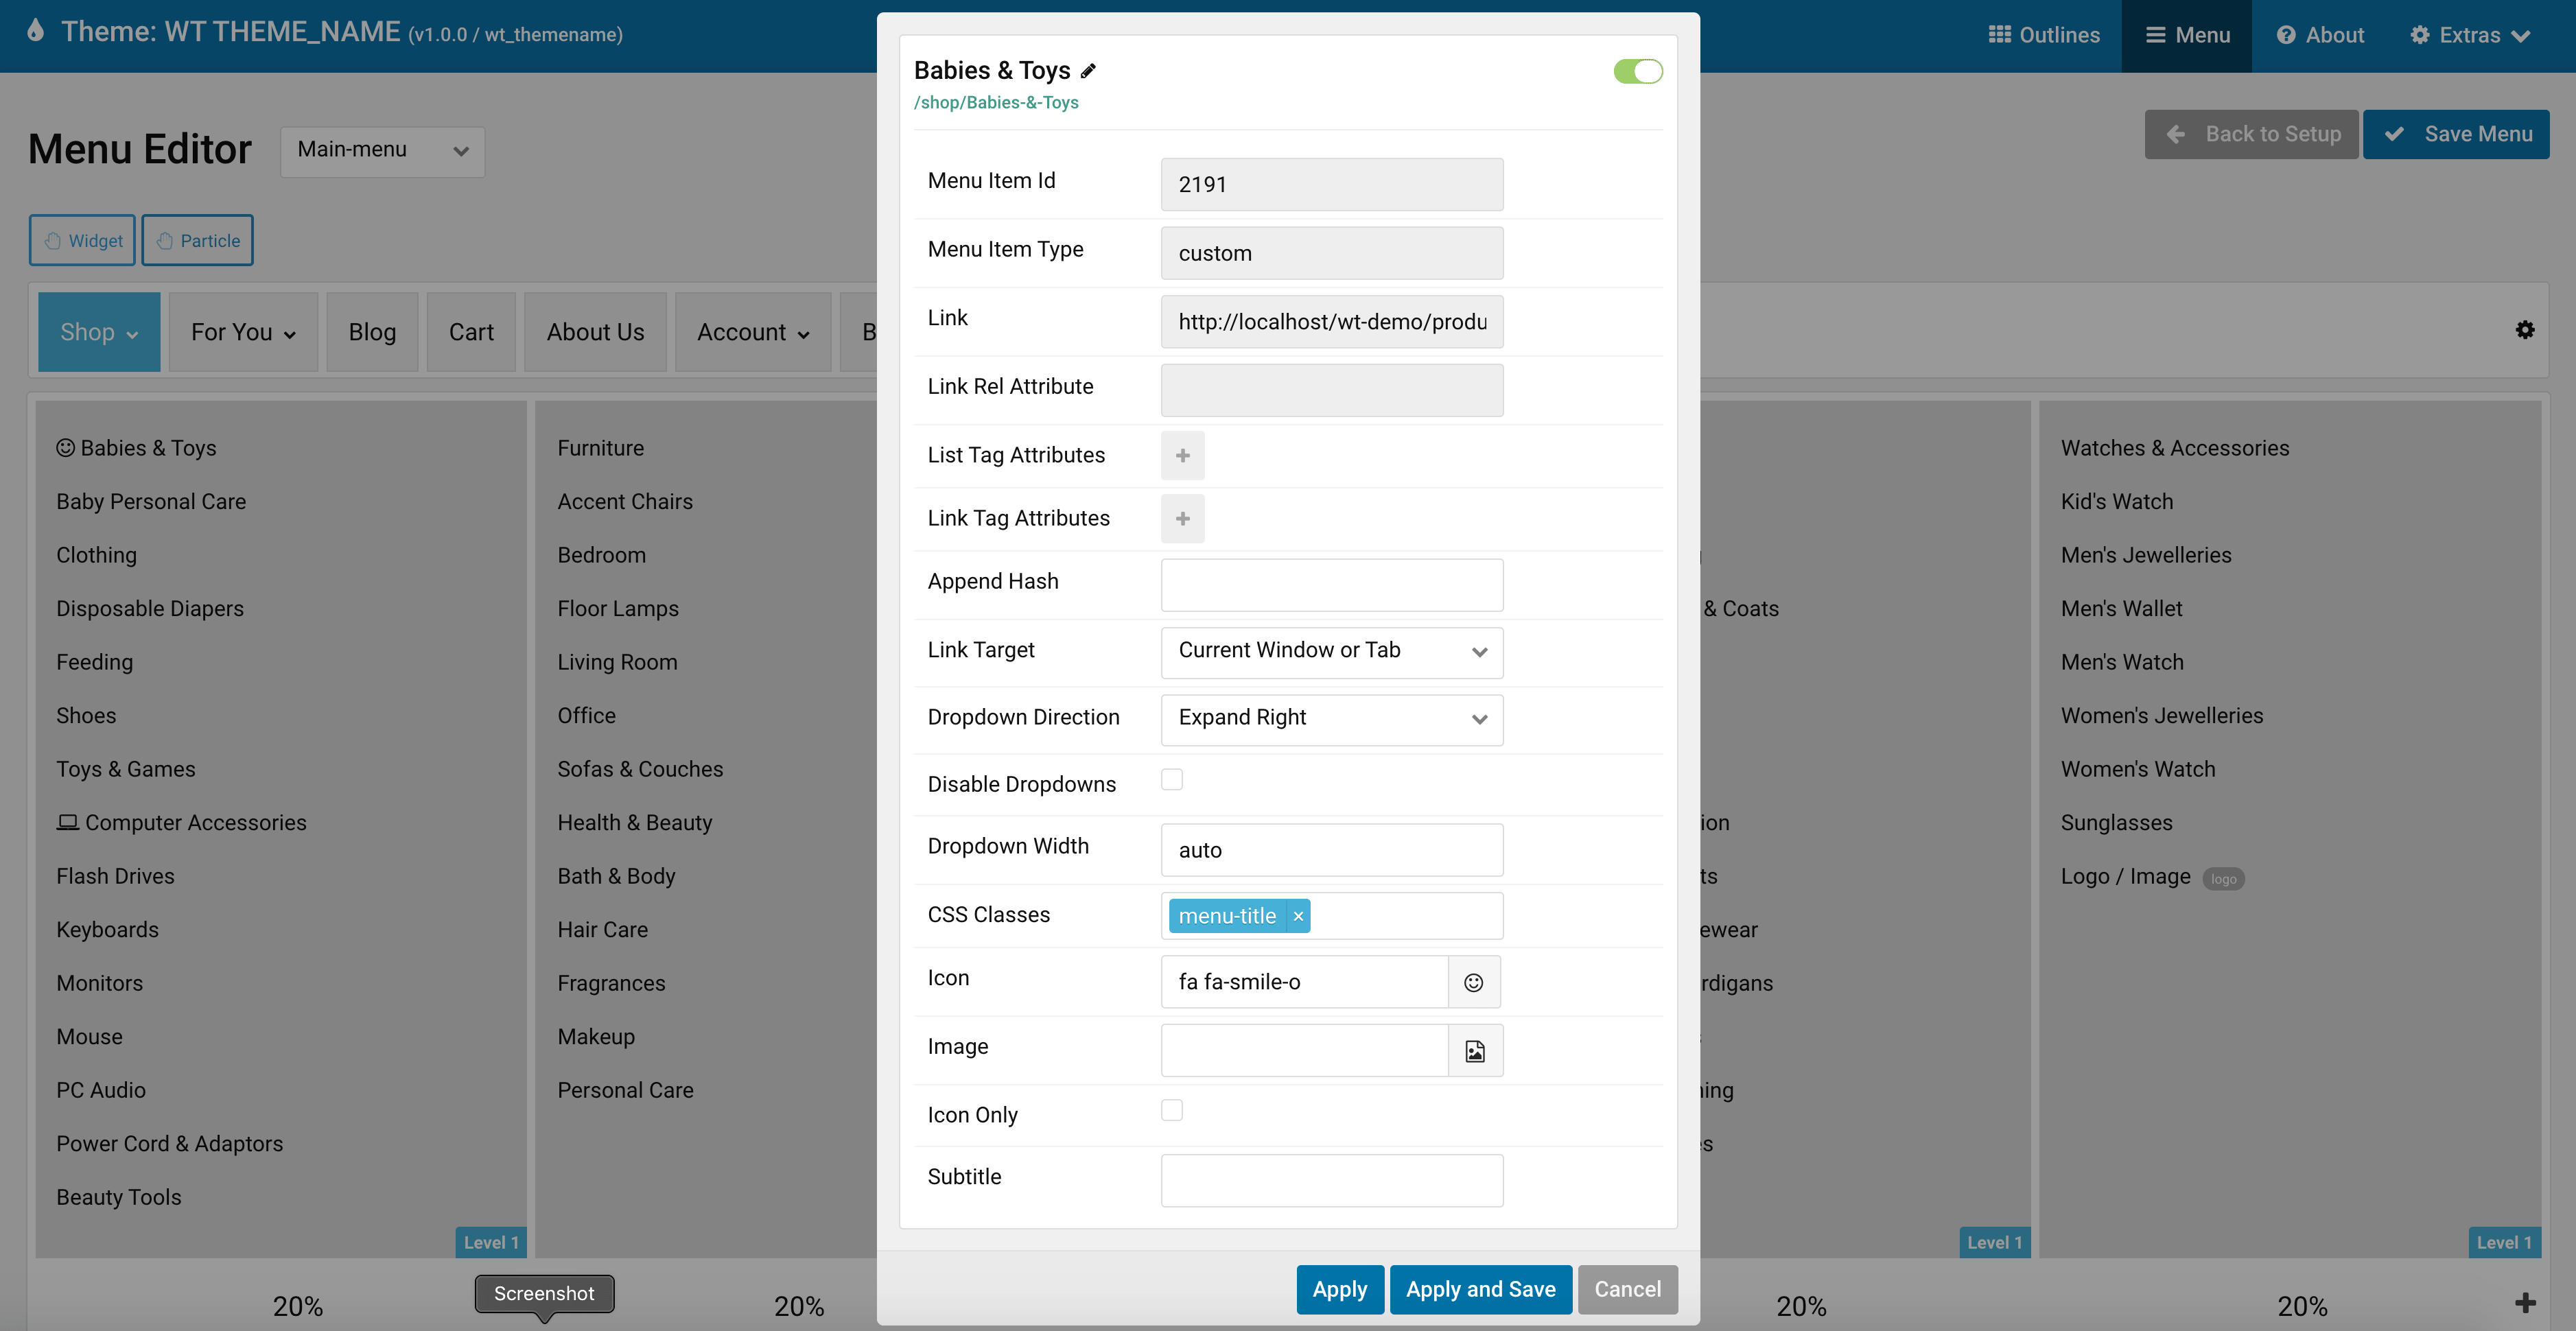
- Now, customize menus, submenus, and dropdown/mega menu columns according to your requirements.

Watch the following video to learn more about the menu editor:
Add images and Joomla! modules to the dropdown menu:
- First, see Gantry Menu documentation with video here http://docs.gantry.org/gantry5/configure/menu-editor
- Access the template admin by navigating to Components -> Gantry 5 Themes -> Default Theme in the left menu.

- Click on Menu from top right corner

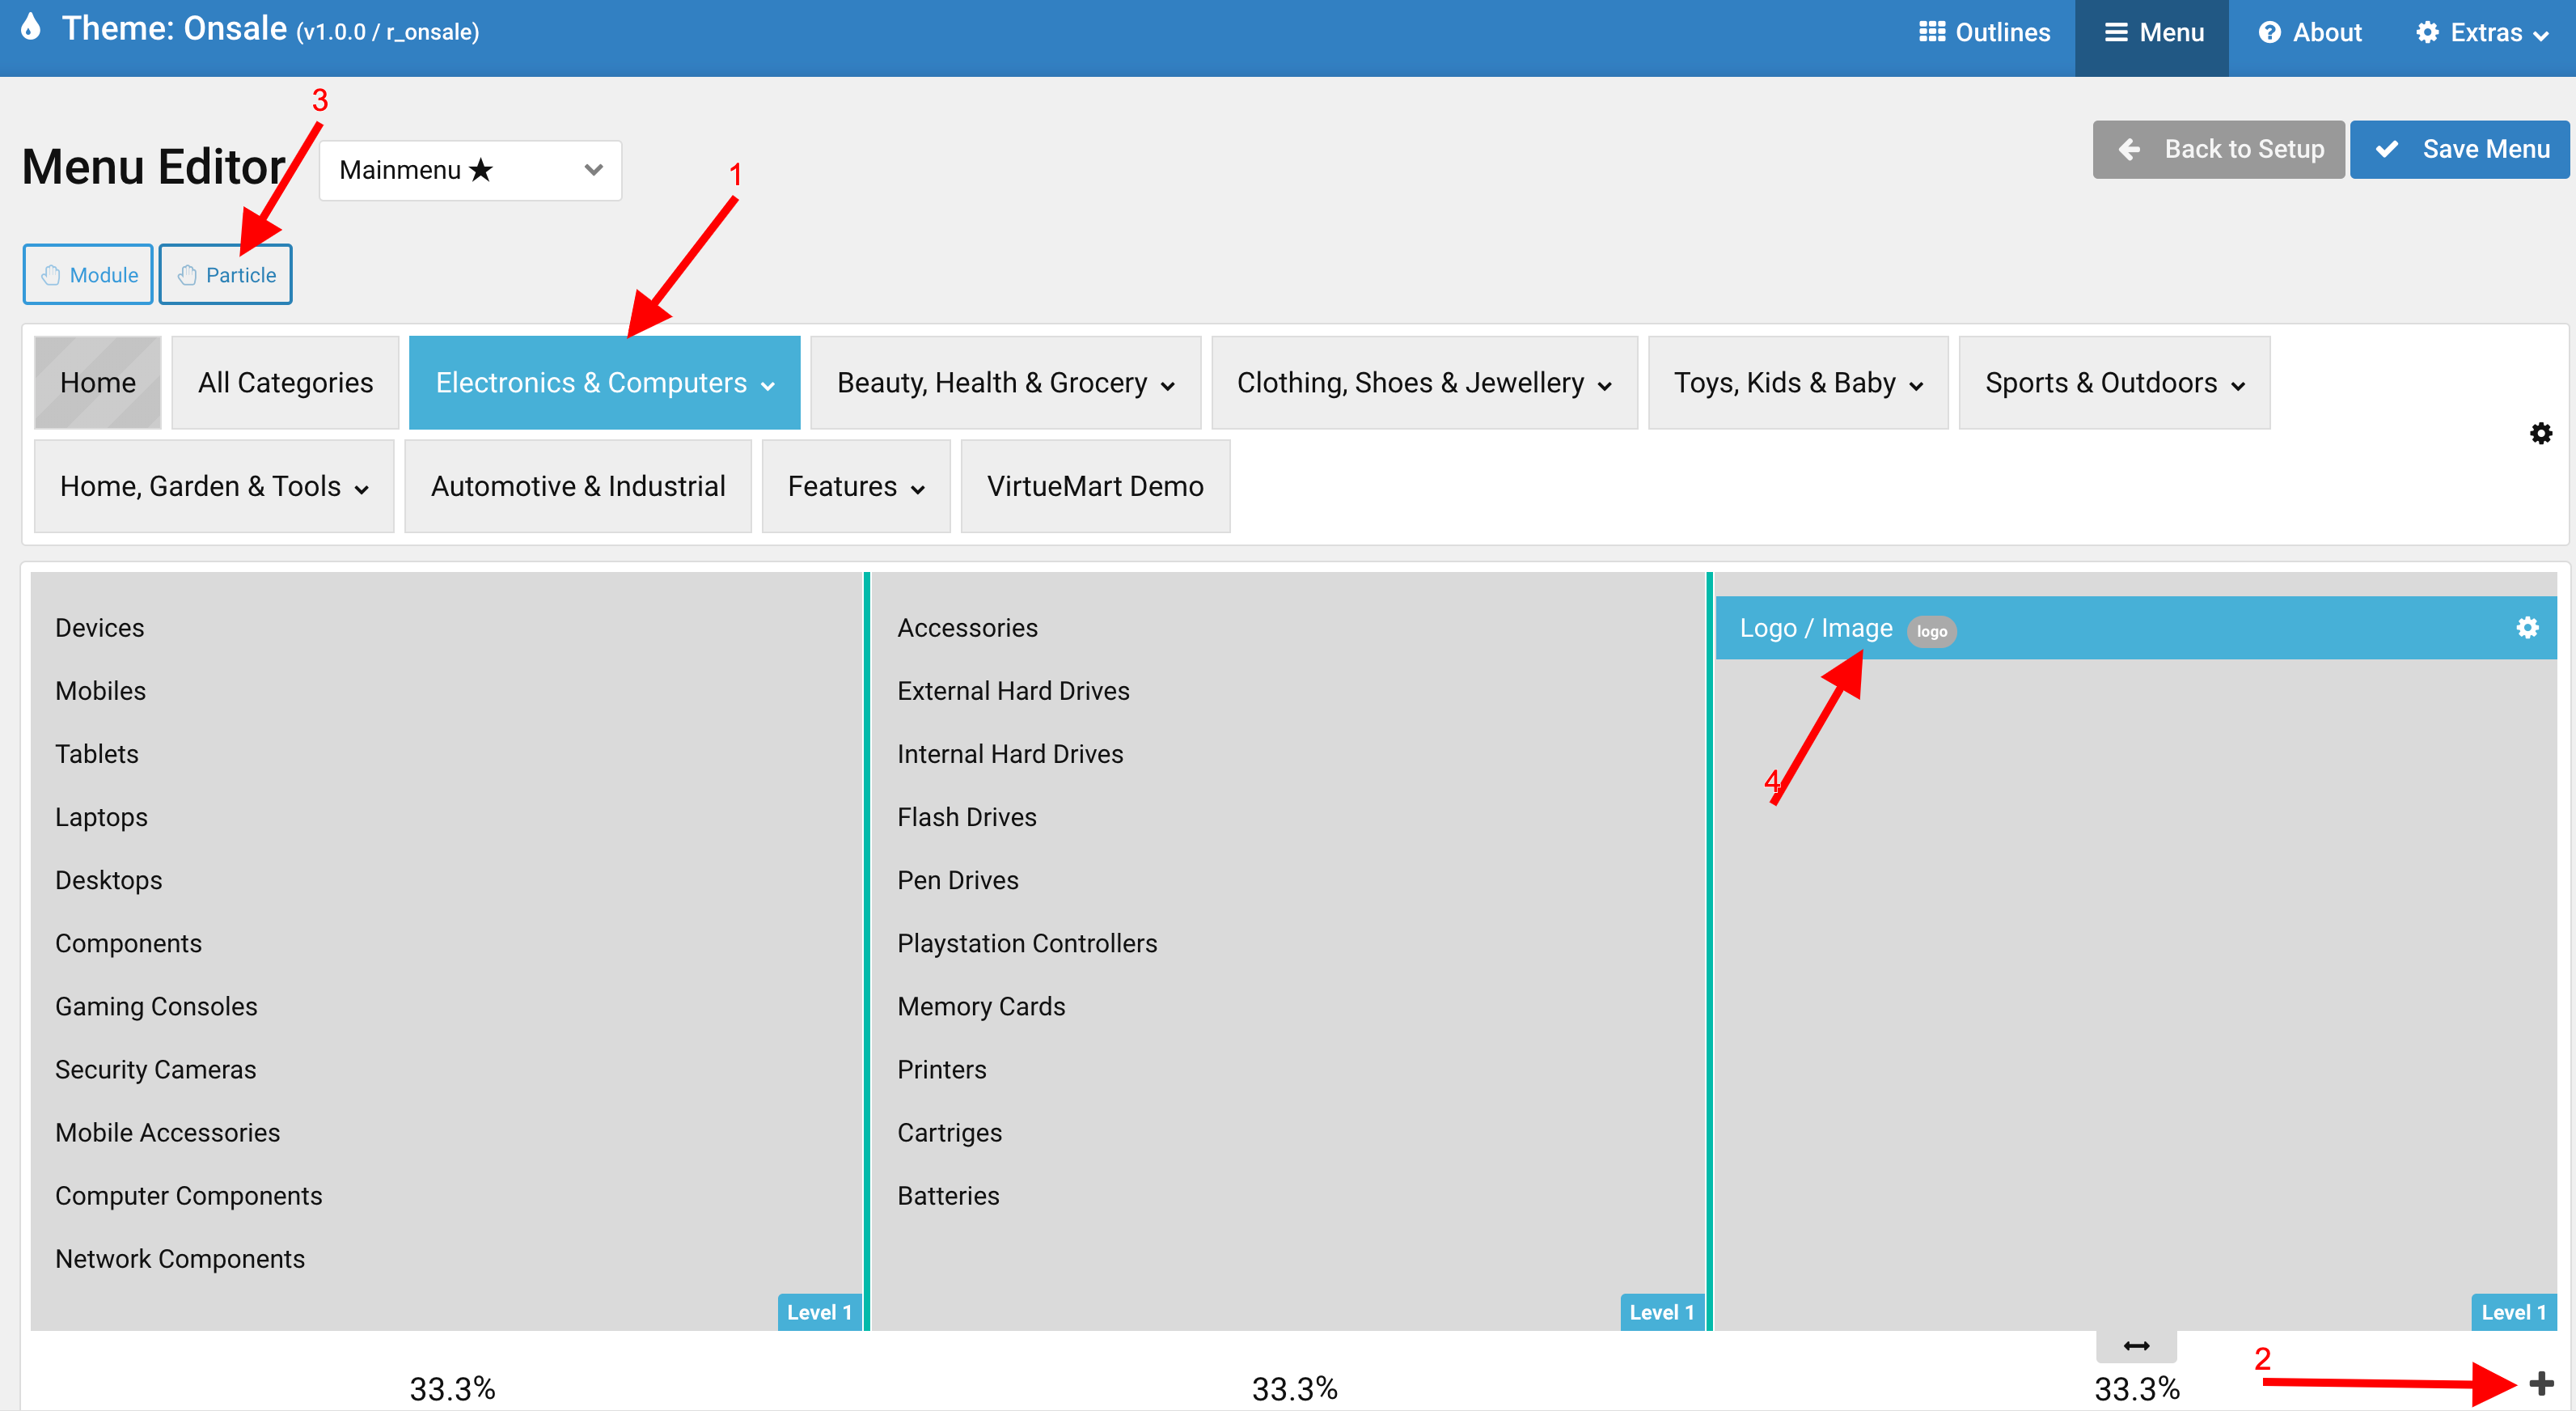
- Click on a top level menu item name you want to add dropdown image for
- Click on + sign to create new column if necessary
- Now drag & drop Particle and select Logo / Image and select follow on-screen instructions.
- Same way you can add any Joomla! modules.
- See screenshot-

