Install the Quickstart Package (For Setting Up a New Website)
What is the Quickstart Package?
The Quickstart Package is a complete WordPress installation that includes the core WordPress files, along with the theme, plugins, and sample demo data as shown on the demo site. When you install the Quickstart package, it creates a copy of the demo site with all the demo data and configurations, allowing you to start by replacing the content and images with your own.
Please note that the images shown on the demo site will be replaced with demo images in the Quickstart installation package, except for a few. Do not use the images provided with the Quickstart package on your production/live site, as they are licensed for demo purposes only and are not free to share.
NOTE:
- The Quickstart installation package includes the core WordPress files, meaning you don’t need to install WordPress separately.
- You cannot install the Quickstart package on an existing WordPress site.
- The Quickstart installation package is not a plugin or theme.
- You cannot install the Quickstart package using the Theme or Plugin installer from the WordPress admin.
Downloading the Quickstart Installation Package:
The Quickstart installation package is included with every theme at no additional cost.
- Log in to your account on this website and navigate to Downloads.
- Download the Quickstart package ZIP file for the theme you purchased and want to install.
Uploading the Quickstart Installation Package to Your Hosting Server:
- Log in to your hosting control panel (e.g., cPanel).
- Go to File Manager.
- Navigate to the appropriate directory for the domain where you want to install the Quickstart package. If you have only one domain with this hosting, it is usually public_html. Please consult your hosting provider if you need assistance with this.
- Upload the Quickstart package ZIP file that you downloaded.
- After successfully uploading the ZIP file, select it and click Extract or Unzip.
- Once the extraction is complete, you can delete the ZIP file.
Installing Quickstart Installation Package:
- Browse to your domain (e.g., https://yourdomain.com) or http://localhost/yourprojectname if you're working locally. You should see content similar to the screenshot below.
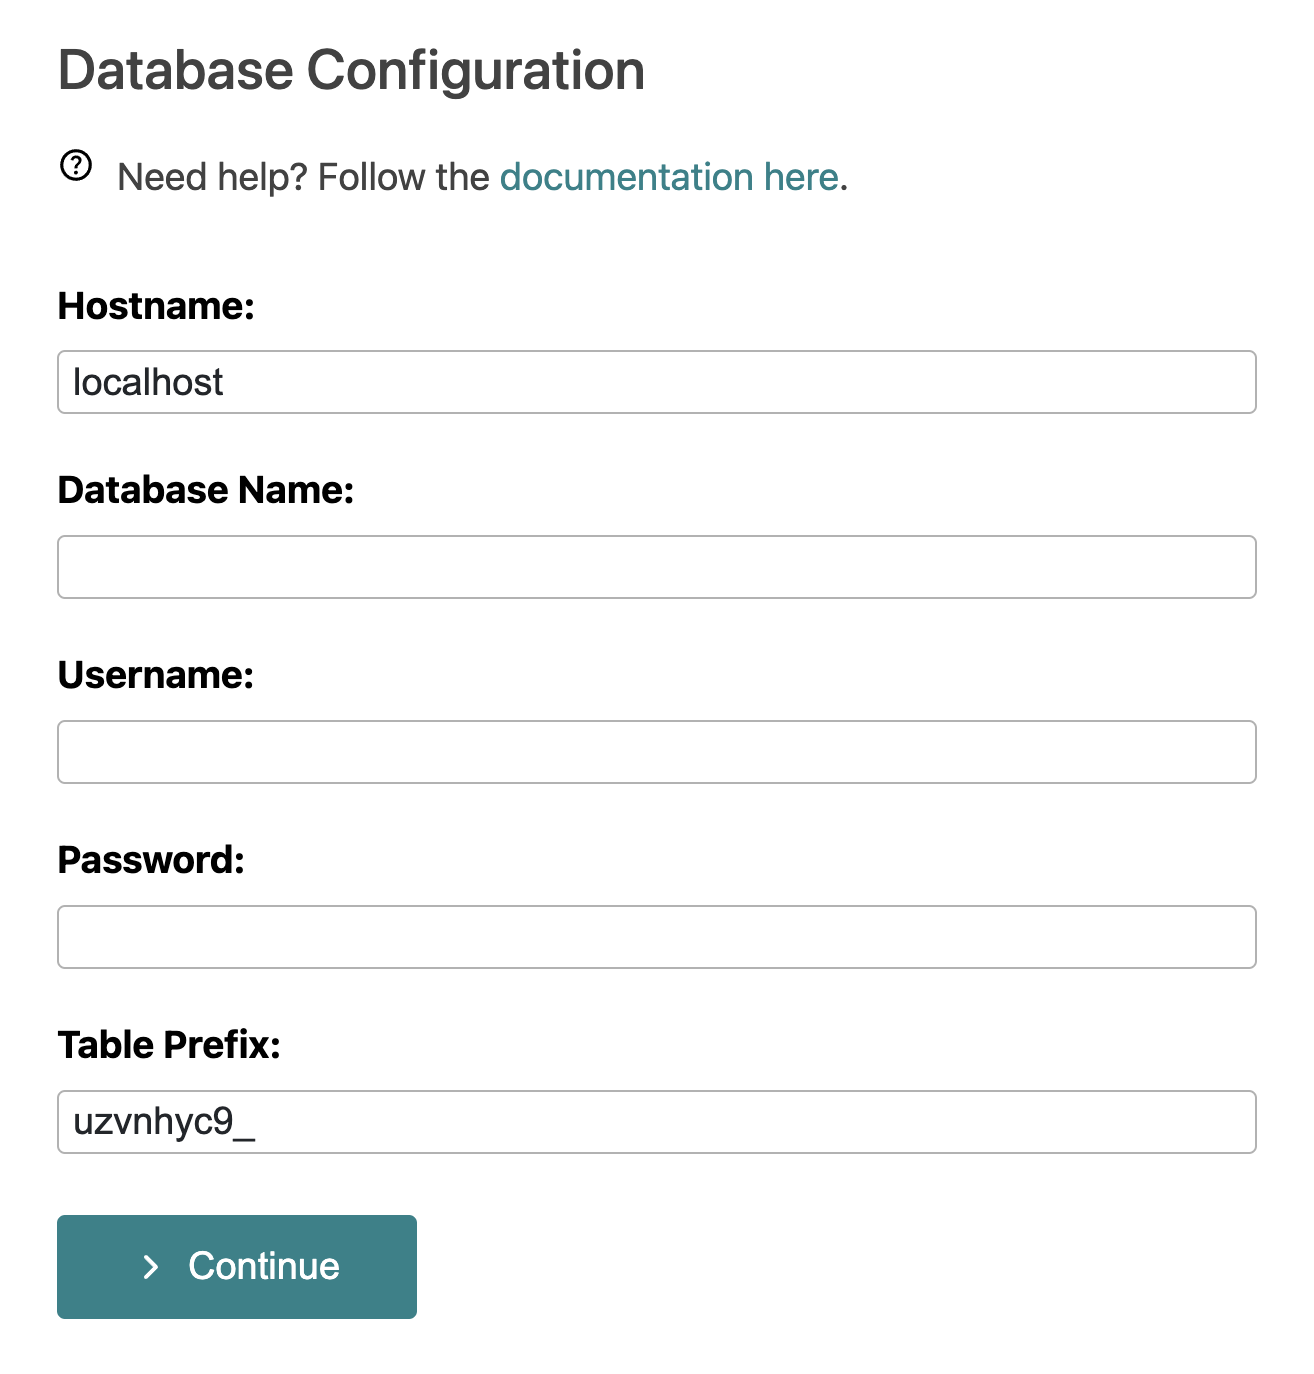
- Hostname: The server address for your database. For most hosts, use localhost. Check with your hosting provider if you're unsure.
- Database Name: The name of the database where WordPress will store its data. Ensure it’s created in your hosting control panel before installation.
- Username: The database user with access to the above database. Set this up in your hosting control panel and assign it to the database.
- Password: The password for the database user. This keeps your data secure, so use a strong password.
- Table Prefix: A prefix added to all WordPress tables. Useful for security or when running multiple installations in a single database.
- Once you have entered all the information (Hostname, Database Name, Username, Password, and Table Prefix), click the Continue button, and wait for the installation to finish. You’ll see the User Settings screen or an error message once it’s complete.
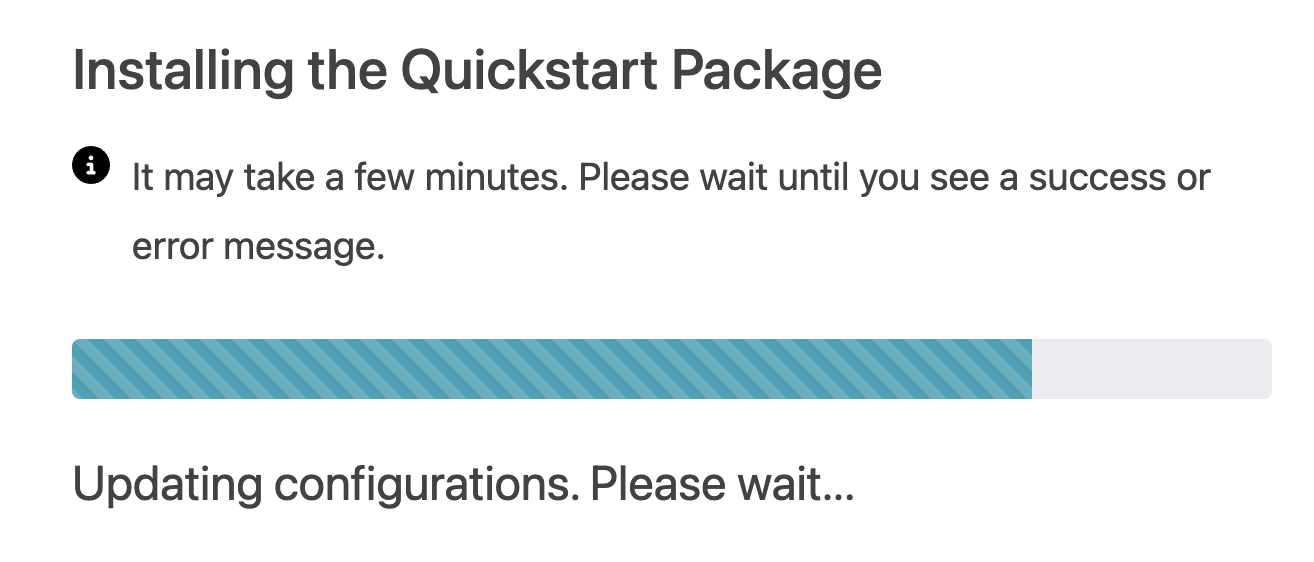
- User Settings:
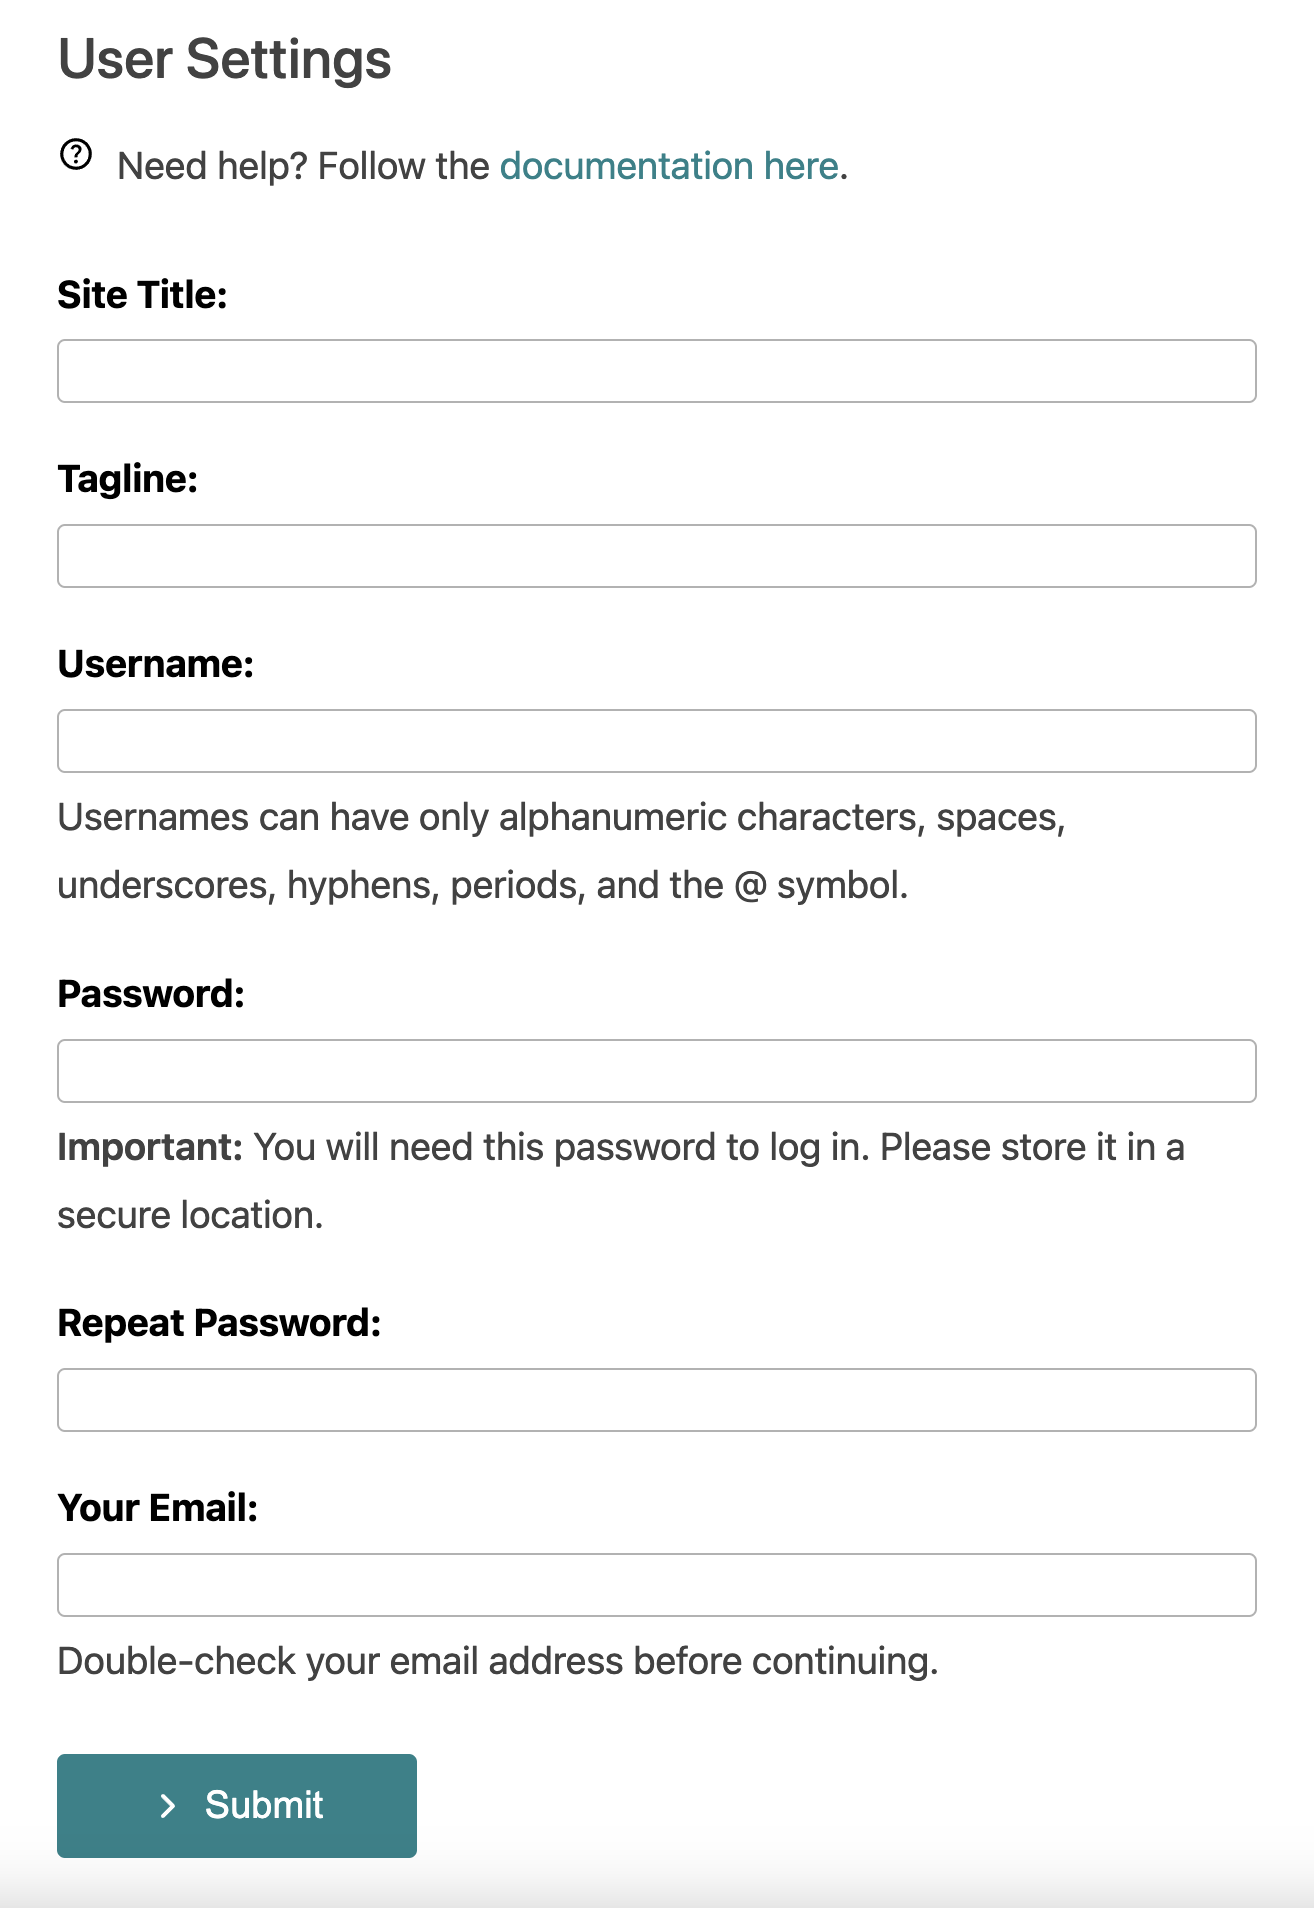
- Site Title: Enter the name of your website. This will appear in the browser title bar and may also be used in the header area on your site.
- Tagline: Provide a brief description or slogan for your site. This typically appears below the site title in some themes.
- Username: Choose a unique username for the main administrator account. This username will be used to log in to your WordPress dashboard.
- Password: Create a strong password for your admin account to secure access to the site. Avoid using easily guessed information.
- Repeat Password: Re-enter the password to confirm it matches.
- Your Email: Enter an email address where you can receive site notifications and password recovery information.
- Once you have entered all the information, click the Submit button. You should now see a success message similar to the following:
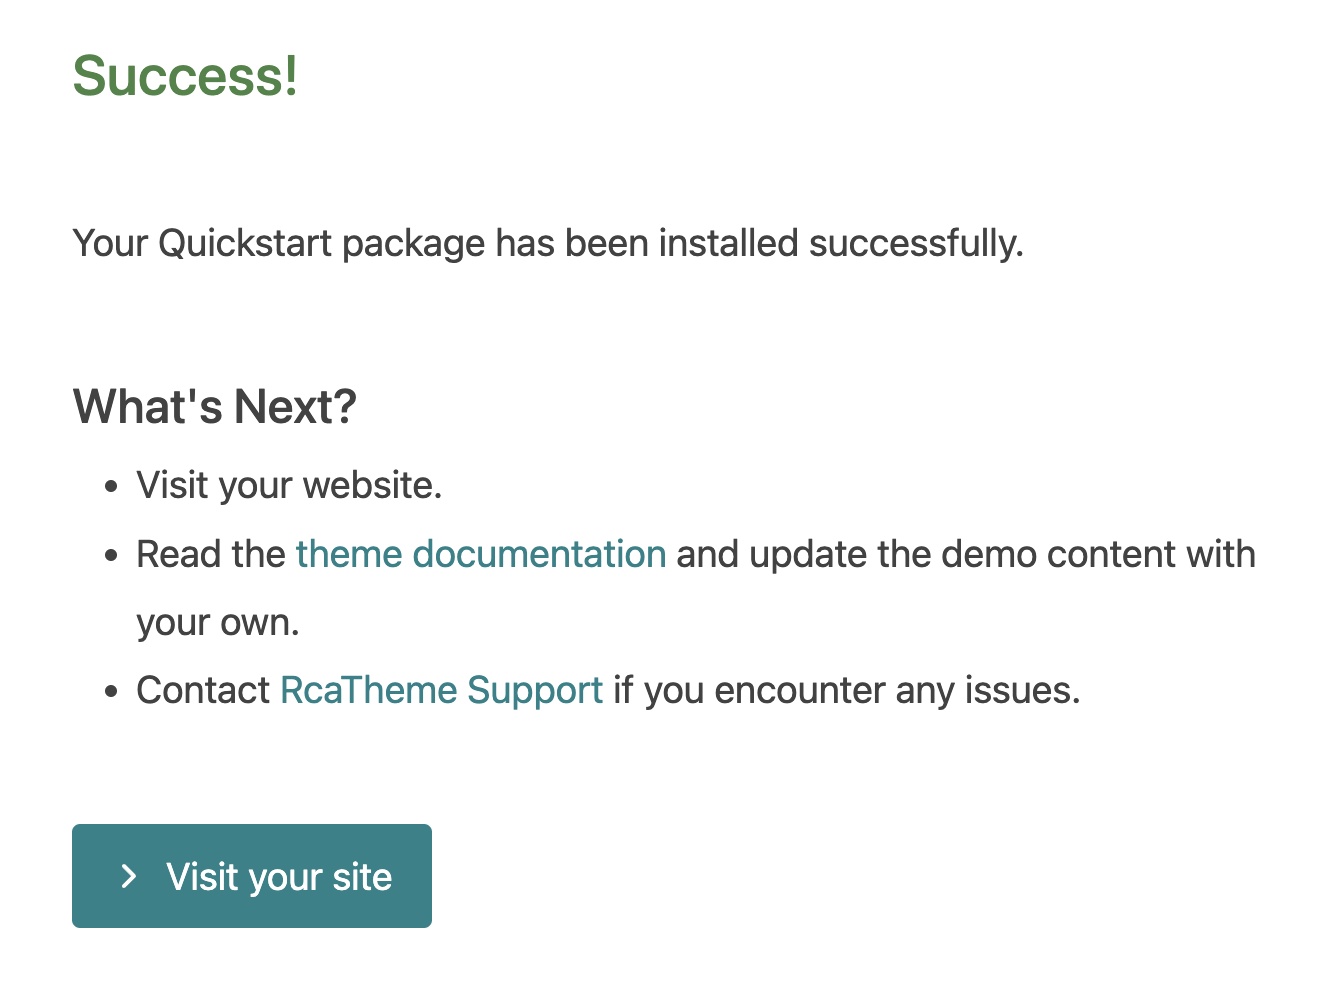
- If you encounter any issues or errors, please contact our support.
Add Subscription Api Key:
Add the Subscription API Key to enable theme updates within your WordPress admin whenever a new version is available within your subscription period.
- Log in to your account on this website and navigate to API Key page.
- Copy your Subscription API Key.
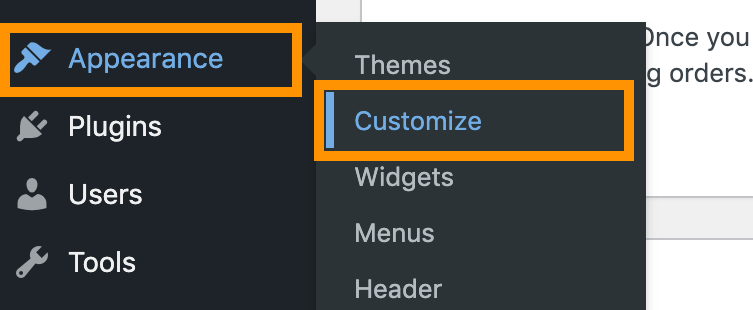
- In your WordPress admin area, go to Appearance -> Customize from the sidebar menu.
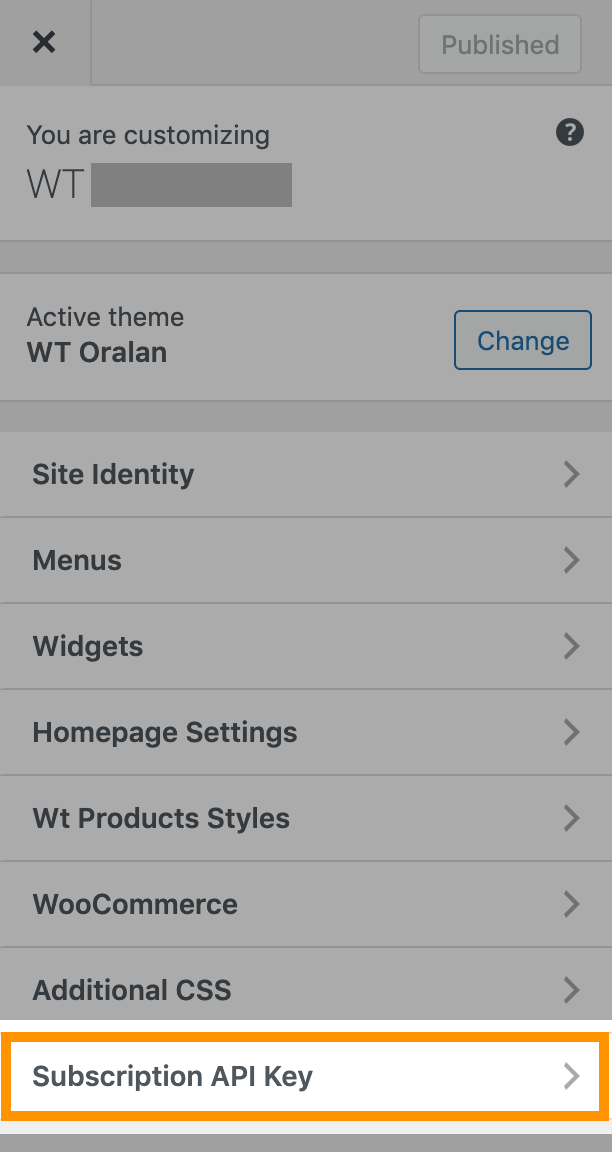
- Select Subscription API Key from the sidebar options.
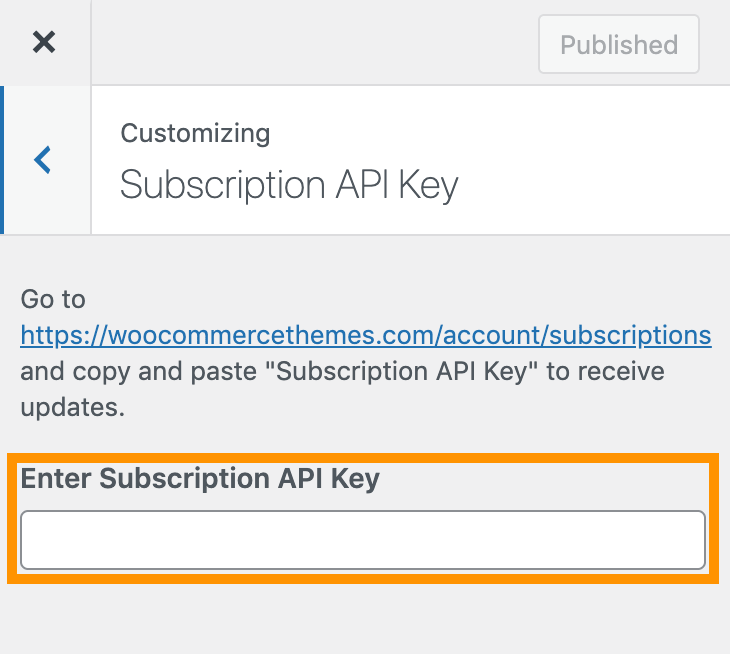
- Paste the Subscription API Key you just copied and click on the Publish button.
Attach Your Domains to Your Subscription for Automatic Updates and Support:
- Log in to your account on this website.
- Go to Domains.
- Click on the + Add Domain button and follow the on-screen instructions.
Updating:
From the WordPress admin, check for any updates, including WordPress, themes, and plugins, and update them.
Done! Now, follow the theme documentation to edit or replace the content with your own, and create additional content as needed.
