Navigation section - edit logo, menu, search and cart

- Login to your WordPress Admin
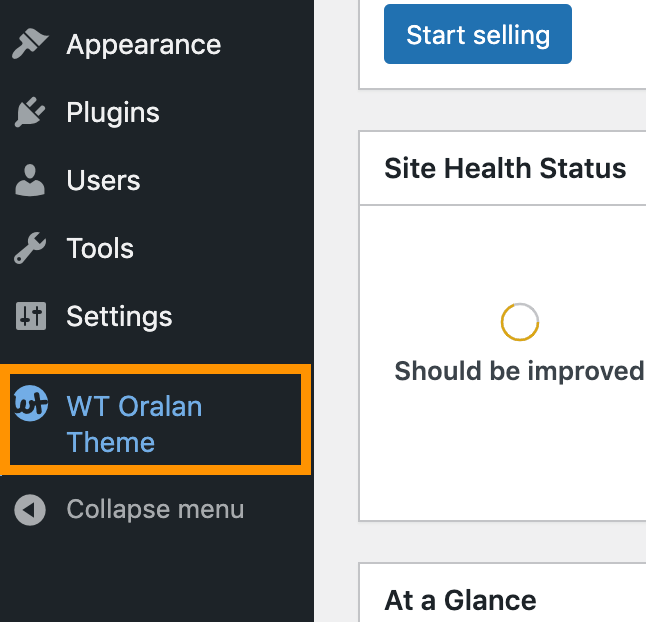
- From WordPress Admin, click on WT THEME_NAME Theme

- Here, we will use Base Outline so we can show these global header and footer to all pages and also inherit them on other outlines.
Click on Layout under Base Outline
- Scroll down to Navigation section, click config icon next to the Navigation Toolbar particle

Change Logo
From the Navigation Toolbar popup window options, follow on-screen instructions under Logo Options and click on Apply and Save.
Add/Edit Menu
- Read and follow Create dropdown and mega menu
- From the Navigation Toolbar popup window options, follow on-screen instructions under Menu Options and click on Apply and Save.
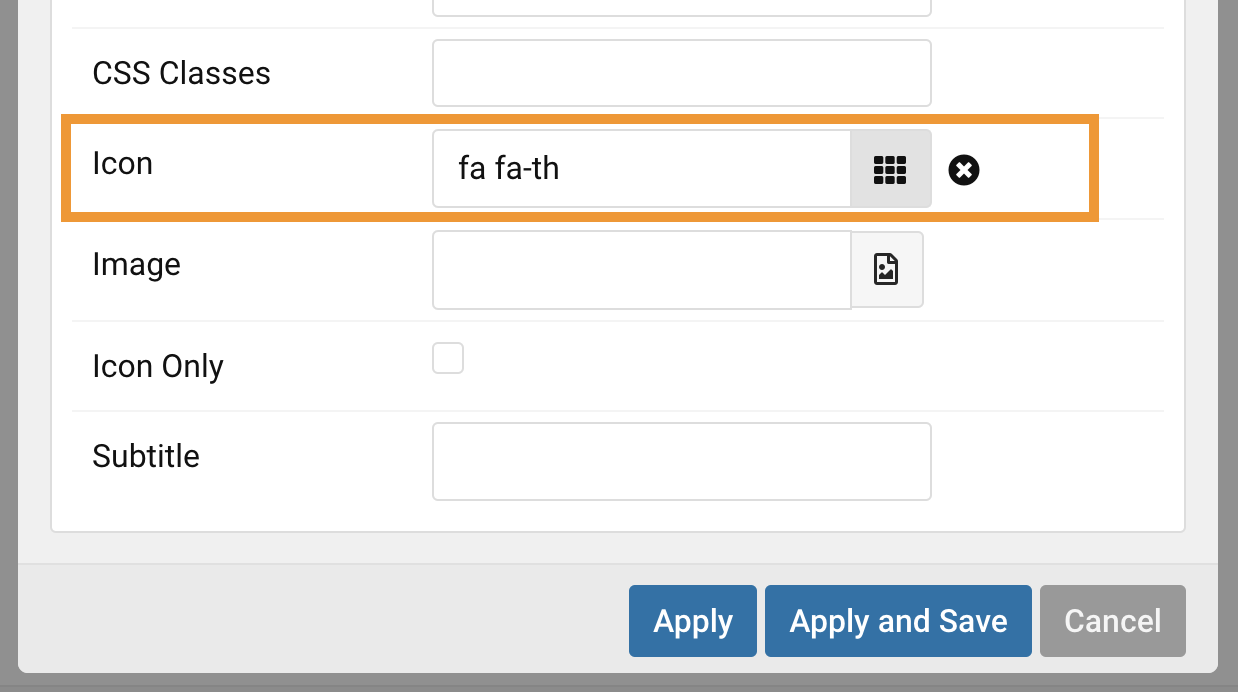
- Add ICON before SHOP BY CATEGORIES menu item:
- From Theme Admin (Very top step #2), click on Menu

- Click config icon next to the SHOP BY CATEGORIES menu item

- Now select icon from the popup window

- Click on Apply and Save.
- From Theme Admin (Very top step #2), click on Menu
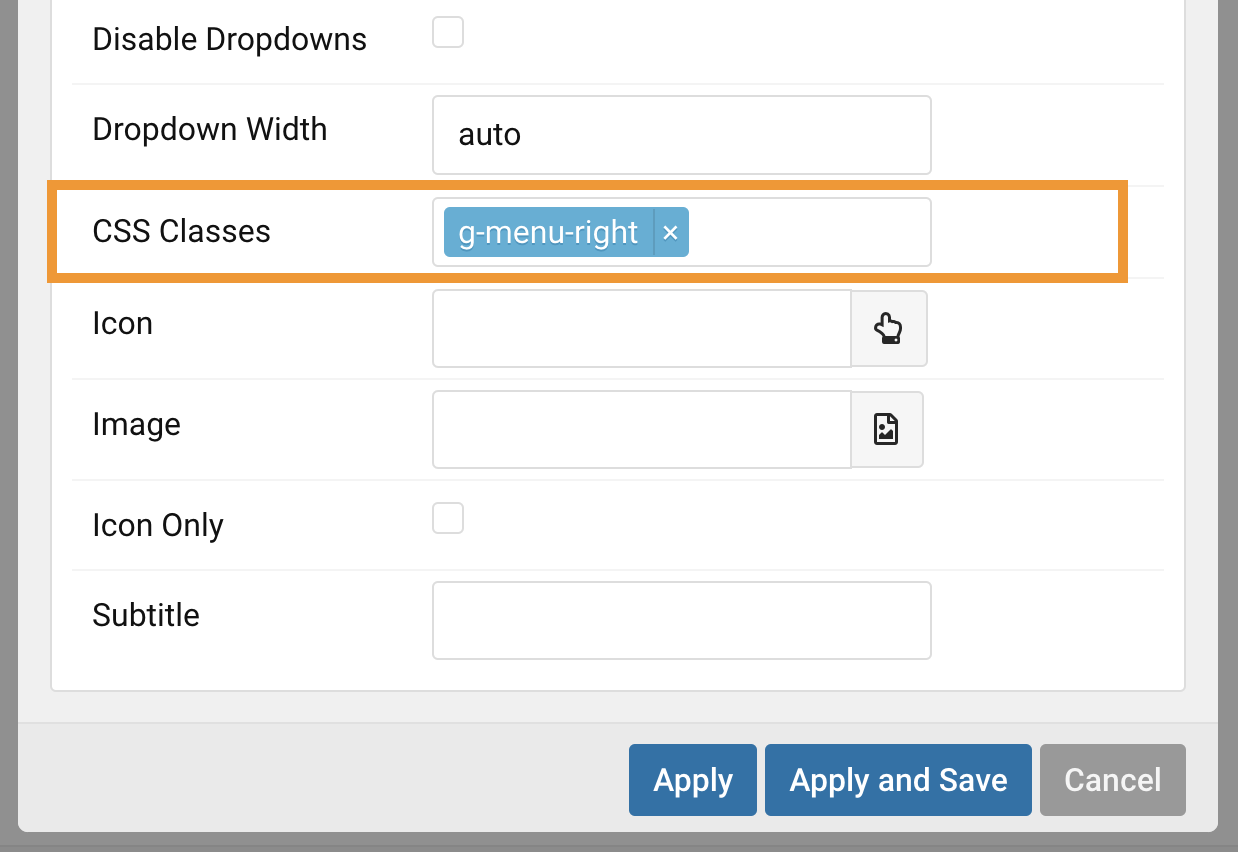
- Move all menu items from HOME to right:
- From the same Menu manager, click config icon next to the HOME menu item

- On the popup window, add CSS Classes: g-menu-right

- Click on Apply and Save.
- From the same Menu manager, click config icon next to the HOME menu item
Account Menu with Popup Login Form
- Read and follow Add login menu with popup login form
- From the Navigatio Toolbar popup window options, follow on-screen instructions under Login Form and click on Apply and Save.
Search Widget
- Read and follow Edit search form
- From the Navigatio Toolbar popup window options, follow on-screen instructions under Search Options and click on Apply and Save.
Cart Widget
- Read and follow Edit cart widget
- From the Navigatio Toolbar popup window options, follow on-screen instructions under Cart and click on Apply and Save.
